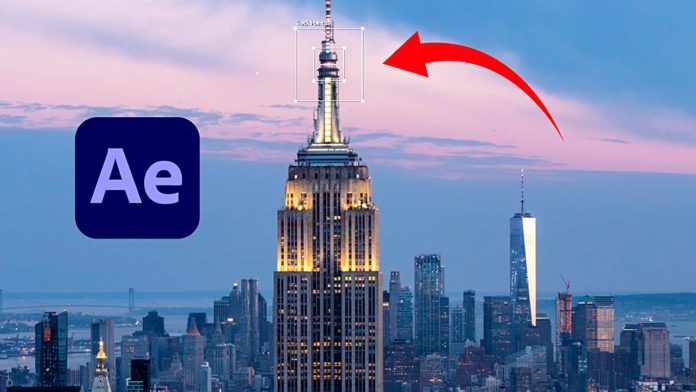
One of the most common things to do in Adobe After Effects is Motion Tracking. Now there are multiple techniques to do this and many different scenarios where you would want to apply those techniques. We are going to look at the easiest and quickest way to do Motion Tracking in After Effects.
First, drag your clip to the timeline to create a composition. Now with the clip selected head over to the ‘Tracker‘ panel. If you don’t see this panel just activate it via ‘Animation -> Track Motion‘. This will add a little tracker icon to the canvas.
You can resize the tracker to cover a bigger area. You want to track a detail with high contrast so After Effects can follow the motion. When you have placed the tracker in the desired position just hit the track forward button in the Tracker panel (that’s the little play button in the lower right corner of the panel).
When the track is done you will see a bunch of keyframes following the tracker on the canvas. Now let’s introduce a little helper to transfer the tracking information to. For that create a new null under ‘Layer -> New -> Null Object‘. You could apply the track to a graphic or text asset directly but with this helper, we can keep everything organized in a dedicated object. The Null object will contain the tracking data.
Now click on your tracked clip again and in the Tracker panel click on ‘Edit Target…‘
In the pop-up select the desired target to apply the tracking data to. The Null object you just had created should be selected here already. If not, select it from the ‘Layer‘ drop-down menu.
Now just click ‘Apply‘ in the Tracker panel. Another pop-up will ask you if you want to apply the X and Y dimensions to the null, or just the X or Y dimension. Select ‘X and Y‘ since we want to apply the full motion to the Null object. This should transfer the tracking data to the Null object. When you scrub through the timeline now, you will see the Null object perfectly following the motion of the tracked object in the footage.
Now you can bring in any asset, in the tutorial above, I’m using my logo and drag it into the timeline. Now we just want to pick whip this logo to the Null object so it follows its motion.
Pro Tip: You could just pick whip but if you want to inherit the initial position of the Null object hold the Shift key when using the pick whip! This will move the Logo position to the Null object’s position!
When you still want to tweak the position of your graphic, just use the ‘Anchor Point‘ value (NOT the Position) this way you can still reposition the graphic without messing up your setup with the Null parent.
