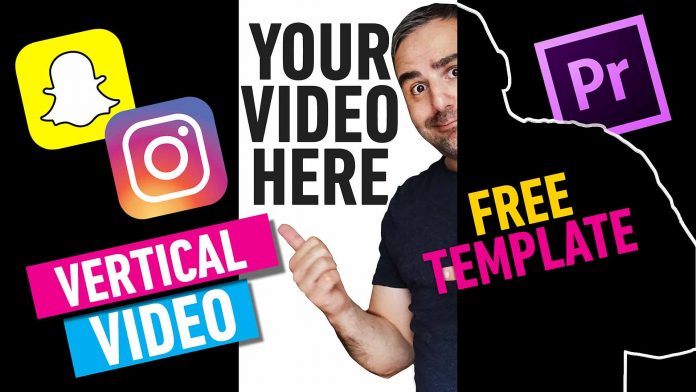
With mobile traffic taking the No.1 spot in website traffic, vertical videos have become a crucial part of any video content strategy. Did you know that vertical videos attract almost four times more engagement than square videos on Facebook? As creating vertical videos with mobile devices end to end seems to be a no-brainer, in a more complex production pipeline you will have to put your high-production value content into a format, which is more suitable for the platform you will be distributing this content on.
Vertical Videos – Finding The Right Resolution
So let’s say you’ve got regular full HD footage (1920 x 1080 px) and now you want to put it into a vertical format to post on facebook, snapchat or instagram stories. Most tutorials will suggest to simply swap the resolution and use a 1080 x 1920 px resolution. While you are ending up with the right aspect ratio (9:16) you will run into one problem: it’s necessary to scale the video to almost double the size to fill up the vertical space. Assuming that you have been given a highly compressed video anyway scaling up the footage this much is not a good idea for the sake of quality. You definitely want to avoid that. In most cases, this step of putting video content in different ratios is a final step and it’s unlikely to be taken into consideration right at the beginning of the production process. Even if you run a small business you won’t have the time and resources to go back to the original footage and recreate everything.
Free vertical video template for Instagram and Snapchat to play out in Adobe Premiere Pro
If you want to export a vertical video out of Adobe Premiere Pro 2017, here is a free template for you. Just drop your footage in the “your video here” sequence and you’re ready to play out your vertical video. Most tutorials are suggesting to create a sequence first and then drop the footage in there. There are 2 problems with that approach though.
First, you’re cropping your footage already and can’t see what’s going on in the cropped area so you can’t decide if you want to move the video over to show these areas in the video (see ‘work with a vertical guide‘ below).
Second, almost all tutorials are suggesting to simply flip the numbers 1920×1080 to 1080×1920. You will get a 9:16 ratio as well of course but now you’ll have to scale FullHD footage almost by the factor of 2. If you ever scaled video footage you know that this means some serious loss of quality. Plus Snapchat and Instagram don’t deliver this height anyway. So the video will be scaled down again. So if you are processing promos and trailers it’s very likely you will be getting final videos probably highly compressed .mp4 files. Scaling them up and then having the video compressed again is something you certainly want to avoid.
Work With A Vertical Guide Rather Than The Final Sequence
When creating a vertical video it’s important to keep an eye on everything that’s going on in your footage. When you create a vertical sequence first, put your footage in that sequence and start editing you might want to miss what’s going on towards the edges since these areas are not showing in a vertical sequence. We’re assuming that the footage or video you are working on has not been shot for vertical usage right away. So there is a chance there are important elements towards the edges you might want to show in the final vertical video. Therefore it’s more advisable with a guide layer in your regular 16:9 sequence (as shown in the tutorial video). This way you will see everything that’s going on in your footage but still be able to decide what is being shown in the final vertical video.
So what’s the problem with 1920×1080?
From my experience creating these videos for agencies, it’s better to stick with a resolution with 1080px height and a width that will yield a ratio of 9:16. If you do the math it’s 607,5 px but of course, you can’t have half pixels so I’m using 608 pixels. That’s the resolution you want to work with in Adobe Premiere Pro 2017.
So in the Download .zip file, you will be getting the whole template project as described in the tutorial plus the preset that you can apply to a graphic asset on the Premiere Pro timeline. Either way, you will have a frame that will help you reposition your footage for a final vertical video to playout over the according sequence.
And if you still want to do it the “professional way” there is a 1080×1920 sequence you can use as well 😉
Hit the download button to get the free template file and let me know in the comments if it worked for you.
Happy editing!
