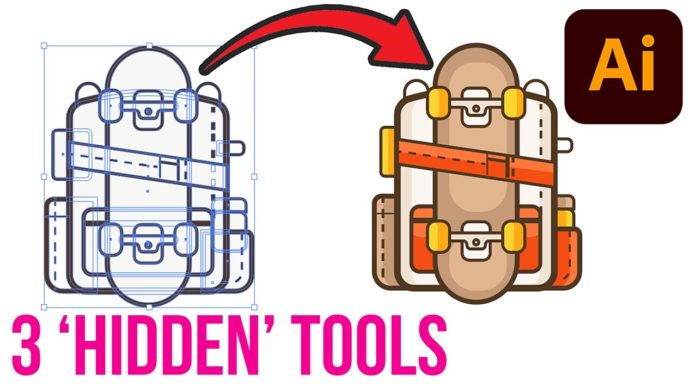
So here are 3 not so obvious Tools & Techniques in Adobe Illustrator to make your life easier when creating vector graphics for Motion Design.
Maintain Relative Stroke Weight
When you want to increase the stroke weight of your graphics but want to maintain the different stroke weights, just make it a little smaller, then check the box ‘Scale Strokes & Effects’ under the Transform tab and scale it back to its original size. This way all strokes will actually increase in size, but maintain the relative stroke weight to each other. If you want to make them smaller repeat the same steps but the other way around (make it bigger, check the box, then make it smaller).
Align Object To Key Object
When you want to align an object relative to another object you can set a ‘key object’ by selecting both objects, holding the alt (windows) or option (key), and clicking either one. That will set a key object (main object) and the other one will align to its position. You can also use the menu command (without holding) a key (as seen in the video).
Use Color Swatch To Change Color Globally
The last tip for today is global color. When creating a new color swatch check the box for ‘global color’ which means this color will now apply all changes to every object this color has been applied to. This way you can create a global color and still tweak the color for all objects with this specific color and don’t have to go in and touch every single object when you want to make changes.
These are 3 tips to work smarter in Adobe Illustrator. Of course, it depends on what type of content you are creating. A Motion Designer will use other tools than someone who is creating print graphics in Adobe Illustrator. There are many more ‘secret’ tips and workflows in Illustrator which I will cover in future tutorials and blog posts.
