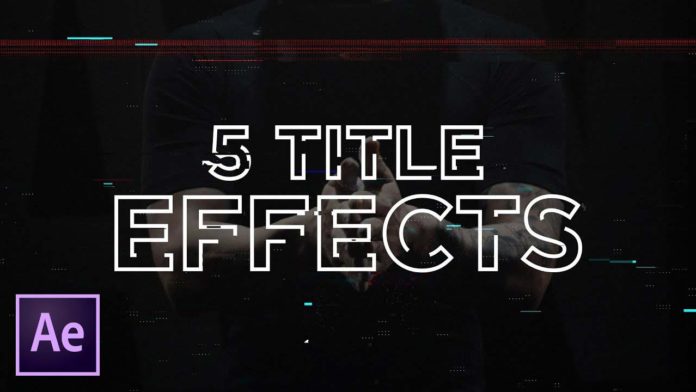
Here are 5 text effect in After Effects to stand out with your next animation. We are going to show you some awesome techniques that you can use in After Effects to create great text animations. These techniques are very easy to use and look great with any text animation.
Video overlay on Titles
Use this technique to overlay your text on a video to give you an Alpha Matte Effect. First, you bring your video that you want to use underneath your title layer. Then you set the mode to alpha matte. This will place the video underneath the title and your title will look great on your background. You can also use the mask tools to over individual letters with their own videos as well.
RGB Glitch Title
To create a warped perspective on your title you need to do the following. Pre-compose the title first and then add some radial blur and set that to zoom. The values for this you can set as you like depending on what you need. After that, you want to shift your channels and set the GREEN and BLUE to off. Then duplicate the title layer and turn the GREEN back on. Repeat the process for GREEN and BLUE. Once you have done this, set the blend mode to screen for the top 2 layers. Using the wiggle command on each of the layers until you have the RGB splitting that you want. By increasing the optics compensation you will then create the warped effect on the composition.
Another very popular text effect is this video in text shape effect, especially as an opener for videos. I had created this free template for you to download, feel free to check it out: FREE TEMPLATE: Movie Title Opener
Stroke Effects on your Title
Stroke titles is an outline title that is animated. First, you want to create shapes from your text. Then you trim the paths in your shape layer. By setting the FILL to NONE and the STROKE to SOLID COLOR, you now have a stroke title. By adding a keyframe for the start and setting the end percentage to 0%. And then move your keyframe forward and setting the end percentage to 100%. By increasing the offset and using easy ease you have a great looking stroke title to work with.
Liquid Titles
To create a title that looks like it is being poured onto your composition you need to do the following. Start with your title, and then using the pen tool you outline your title. Ake sure that you click on off before you start each letter so that you have individual traces of your letters. Turn of the title layer and you have an outline of the title. Increase the stroke of your shape layer and add a trim pass. Set the start to 100% and add a keyframe. Move forward in time and set the percentage to 0%. Also, set the shapes to trim individually. By setting the Alpha matte you will have a stroked outline for your title. Add a simple choker to your shape layer with a choke map of about 50. Add roughen edges and sharpness so that you get a great-looking liquid effect. Following the settings in the video, you will get the liquid flowing through your title in no time at all.
Composite Title
This technique lets you composite your title with footage or photos. It’s not the easiest effect but making sure that your title looks great on your footage is always good for your projects. The first technique is using the opacity in your background. If you want to add the color you create a new solid and creating a gradient ramp effect on the solid. Experiment with the blend modes to make your title stand out from the background. By using a black solid underneath the title and then mask the title and blend it so that you get your title to stand out from the background even more.
These 5 Text effects in After Effects are a good starting point to build up on and sharpen your motion design skills. Play around with these techniques and get your future titles to jump off the screen just by using these simple features in After Effects.
