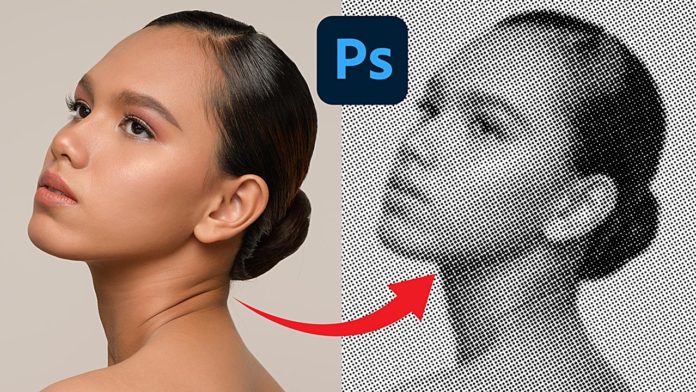
To create the halftone effect in Photoshop first duplicate your image and desaturate it. With the duplicated layer selected go to ‘Image – Adjustment – Desaturate‘. You could as well use an adjustment layer but we know we are going to stay on a black & white layer so this is a quick method to desaturate a layer.
the main step to create the halftone effect is using the according filter under ‘Filter – Pixelate – Color Halftone…‘. In the popup there are a couple of settings you need to tweak to create the desire effect.
These settings depend on the resolution of your base image but the following settings should be a good starting point.
Set the ‘Max. Radius‘ to 5 and all Channels to 45. A bigger ‘Max. Radius‘ will make the dots bigger. Tweaking the channel degrees will also give you a different distribution of dots and might yield a more organic look.
You probably want to convert the image to a Smart Object before you apply the effect because then you can go back and adjust the settings until you are happy with the density of the dots.
Keep in mind though this also depends on how the image is being presented so you might want to zoom in and out while creating it to find the best settings for the final design.
But as you have seen creating this (also referred to as the ‘dotted pattern effect‘) is as easy as just desaturating your base image, applying the Color Halftone effect and tweaking the settings from there.

[…] Double Exposure Effect is pretty easy to create in Photoshop. Usually, you would combine 2 images together. In this case, we are going to use a side portrait […]