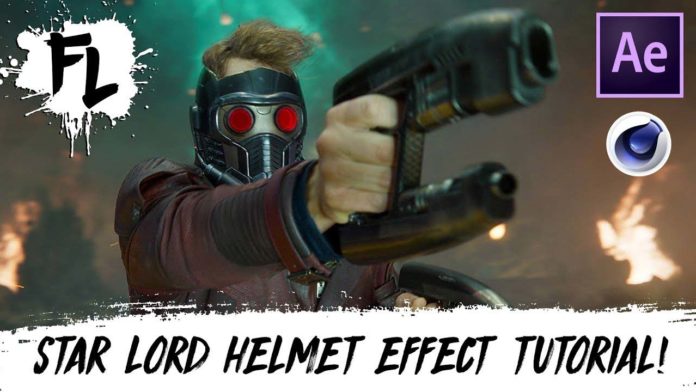
After Effects Users really appreciate the tools to stabilize and track footage either onboard on Mocha, which is the free version of Mocha Pro that comes with the AE installation. However, it’s not really widely known that Cinema4D also comes with a very powerful tracking tool. In this tutorial FilmLearnin’ is teaching us how-to recreate that neat helmet effect from the movie Guardians Of The Galaxy.
Of course this requires more steps than your usual ‘cinematic video in Premier Pro’ tutorial but when you’re done you end up with a very cool VFX shot that comes pretty close to the original sequence found in the Hollywood Blockbuster Movie.
You may also like: https://videomark.net/game-of-thrones-3d-font-download/
Yes, Cinema4D‘s tracker is no Syntheyes or PF-Track but it does a pretty good job when the movement of the object in your footage is not too crazy. After setting up the footage for a clean track and applying manual tracking points you have a pretty solid track which can be used to attach any 3D object to within the Cinema4D scene. In this case, of course, he’s using Starlord’s Helmet to line it up perfectly with the head movement.
Once the helmet is rendered out, Grant (FilmLearnin’) is heading over to After Effect to apply the build-up / reveal-effect of the helmet. Here, Mocha is used to apply a planar track to the eyes. Of course, you could put in a little more work to make the helmet appear just like in the movie with all the individual parts moving into place. But hey, for roughly 40 minutes this is a pretty solid shot, don’t you think?
