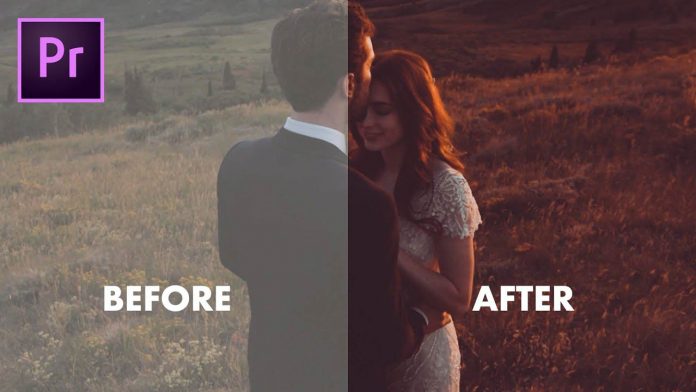
Here is a neat little trick from TutVid to create your own cinematic LUTs for your next Premiere Pro video project.
While there is a common technique to extract color schemes as LUTs from Photoshop with adjustment layers in this case TutVid is using a tool named ‘LUT Generator‘. This will allow for a little more control over your exported cinematic LUTs.
Once you saved your color correction in the camera RAW dialogue just head over to the LUT Generator and create a ‘HALD‘ file. If you are familiar with color grading in the LIVE streaming app ‘OBS Studio‘ this file will look familiar. This looks similar to the color lookup sheet that comes with OBS Studio and will work as an intermediate file to actually create a .cube file within the LUT generator.
>> See a similar process for OBS Studio here <<
So once that HALD file is created, import that to Photoshop and apply your color correction to it. Depending on how far you took it, you will see a significant change to that color sheet. Once that is done save it out as a PNG file.
Now take that file to the LUT generator again and export a .cube file. Now you will have a common file type that you can use in Adobe Premiere Pro or any other NLE that can import .cube files for color grading.
