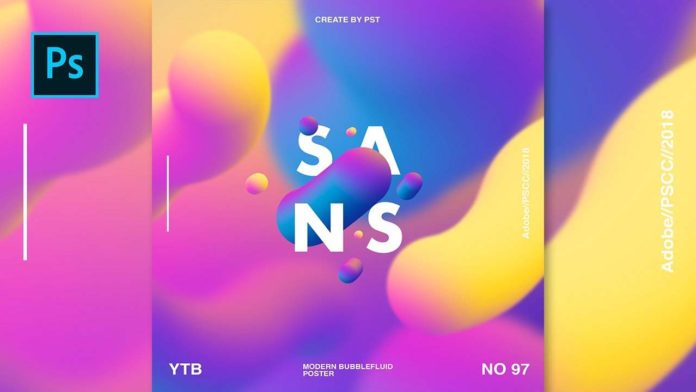
Fluid Gradient Art is a great way to get some awesome color into your images. In this ‘How To Create Fluid Gradient Art in Photoshop’ tutorial, we are going to show you how to create gradient artwork for your images. We are going to use a simple Text Image just to show how to create the gradient flow and then isolate the text so that your image is usable for logos or whatever you need them for.
Create your Composition and Add the Text
We are going to be using a basic layer with a 2000 x 2000 pixel size just to keep it simple for demonstration. As you get better at this technique you can let your creativity determine the size and shape of your images. Once you have the layer set up, you can now add the text that you need to use. Size and center the text so that you have as much space for your coloring as possible. It’s also better to use a black background for these types of edits as it makes the colors jump off the page or screen. Space your text so that you have ample space in between the letters for your colors to shine through.
You might also like: How To Match Colors In Photoshop with 3 clicks
Creating the Color Gradients
Using your ‘brush tool’ and bright colors from your palette, you can add the color stroke to the image. Remember to duplicate the layer so you can protect your original image if you need to. With a large brush paint the color onto your layer making sure that they overlap and cover the text. The color should be on a separate layer and you should see this on the right-hand side of your screen. As you add the color you will see the layer fill with the brush strokes. Do this with as many colors as you can handle to give you plenty of room for the gradients flow.
Using the Gaussian Blur Filters
When you are done with colors, select the filter tab on the menu, and find the ‘Gaussian Blur filter’. Use this filter to blur the colors into a flowing mass of color. Set the radius of the filter rather high so that you maximum effect from the filter. You will see the color blend and integrate as you apply the filter. Using the ‘brush tool’ with a clean dry heavy load setting you can now add the color to your brush and use them for your Gradient Art.
Creating your Gradient Art Layer by Layer
By creating a new layer for each brushstroke and color, you are creating your gradient flow art piece by piece. So follow the video and create your fluid Gradient artwork to your liking. You can then trace your text outline and bring the text frame out of the color to make your color flow in the background of your image.
As you can see learning how to create fluid gradient art in Photoshop can deliver some truly amazing artworks and color schemes.
