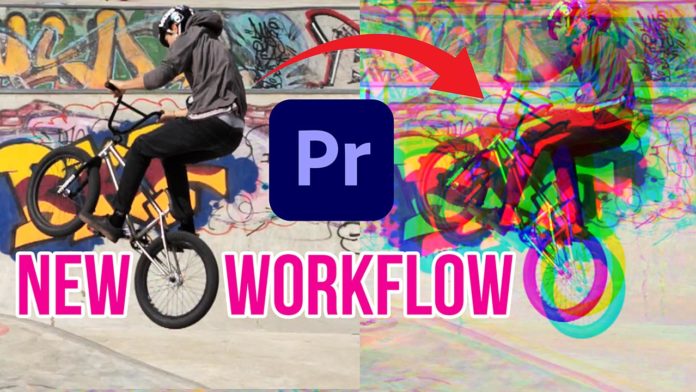
Creating special effects for your videos should not be a daunting task, you can create awesome special effects with Premiere Pro very easily. Today we are going to show you how to create the most amazing glitch distortions with Premiere Pro. This effect will take your next video to the next level and jump off the screen.
Split The Channels
Once you have created a new sequence with your clip, you can set it up to create the glitch effect for your video. When you saw the glitch effect in the intro, you saw that the RGB channels were separated. And to do this we have to find the Lumetri Effect in the Effects Library (or via the Lumetri Panel).
Create Duplicate Layers
The next step is creating separate layers for each of the RGB channels. You do this by holding the Alt key and dragging the clip to the separate channels in the project view. You then create the three channels in the RGB Curves tab of the Lumetri Panel, and drag the respective graph down just so you are left with the desired color. Do that for each channel red, green, and blue.
Blending the Channels
To use the channels together we must blend them. This is done by selecting a channel and setting the blending under opacity to Screen. You do this for each of the channels and you will have your clip blended and looking like the original clip.
You might also like: 5 Glitch Effects Techniques In After Effects
Creating the Glitch With Offset (NOT Positon!)
To create the offset for your glitch, just apply the offset effect and set a keyframe under ‘Shift Center To’ at the desired position. Once you have created the keyframe, you can now offset the position of your clip. Of course, you can also animate the rotation and scale under ‘Motion’ in the ‘Effect Controls’ panel to tweak it even further. You move a frame forward with your arrow key and then you offset the channels as you like. You keep on doing this for about 10 frames or so, which will give you an awesome effect on your clip.
Return to Normal Video
Once you have created your glitch effect, you want to return to the normal video, as you want this effect to only show for a split second. So after those 8-10 frames just set the offset position to the default values.
