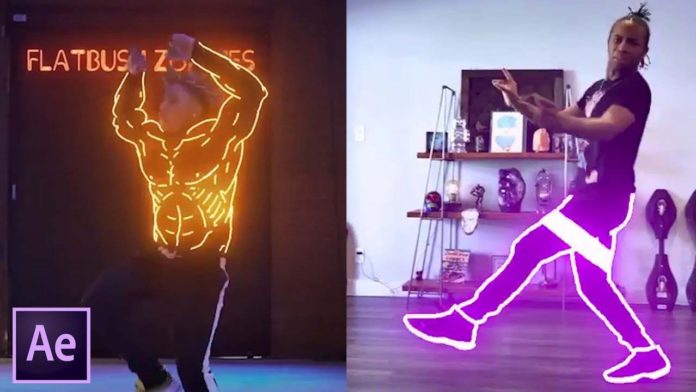
To create glowing lines animations on your video is a long process but this guide will help you achieve mastery in After Effects. We are going to use a dancing video as this gives you the true understanding that Glowing Lines can give you videos.
Load your Video and get Images to use for your lines
Using google images you can find a host of images to use for your glowing lines effects for your video. Once you have found the reference images, use the track and mask functions to make your elements flow together so you have a smooth flow in your video. Using the track function you can now track the motion of the eyes in this case so that your animation follows the video frame by frame.
You might also like: Trendy Logo Animation With After Effects
Using Intensity and Glow
Once you have tracked the motion of the video, you can now fine-tune that track to make sure that your glasses stay on point all through the motion. By adjusting the glow and intensity you will be able to have the glasses on screen for a certain amount of time. Using keyframe and tie graphs you can style the animation to your liking as we did on screen.
Selecting Particular Layers and Keeping your Animation on Track
Remember to select the right layer for editing. To make sure you are working on the right layer you can use the shy tool to hide completed layers so you don’t accidentally edit already completed layers. This tool helps you organize your composition so you can focus on the specific layers you are working on.
Adding your Glowing Lines Frame by Frame
Adding your lines you always want to make sure that you are working frame by frame. Yes, this is a long process but this gives you the clarity that your lines will only be on screen as long as you want them, rather than throughout the whole video. Using the paint feature you must select the following for awesome glowing line animation. Opacity and Flow at 100%, Color at RGBA, and very important Duration set to Frame by Frame. Using the page up and page down keys you will be able to toggle between the frames forward and backward to see your lines come to life on the screen. This will also give you reference points on where to paint the new lines by viewing the previous lines frame by frame.
Creating an Easy Workspace
By duplicating your composition you can create an easy workspace for you to add the lines without affecting the original video. You might have seen that we did this early on yet you can create this whenever you need to. The workspace you create can also help you with getting the lines just right, you might want to try having a slight overlap to make the lines flow better.
Repeat process and Repeat…
As you can see, adding Glowing Lines to your videos make for great effects and fantastic looking videos. However, this animation effect does take a long time to add and there are lots of repeat keystrokes and back and forth. So as you go along creating your lines and adding the colors, you might find yourself having to repeat certain lines over and over again just to get the right effect on the final product. Tracing the frames does get tedious but when you look at the final video you can see that this effect is quite special and the time it takes is worth it.
