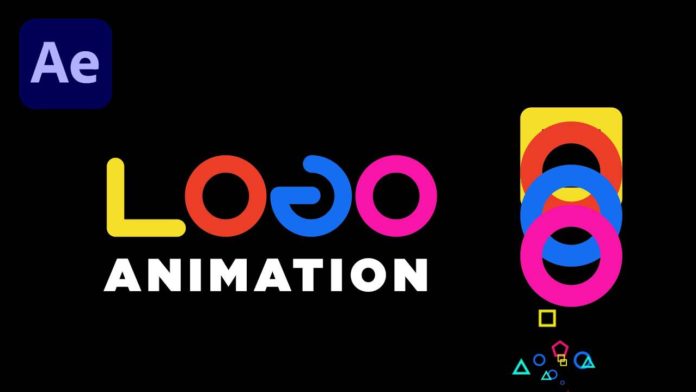
To create spectacular logo animation in After Effects is actually pretty easy and very powerful! If you want to learn how to do it in just a few simple steps, then follow this tutorial guide and you will master the process in no time. In this guide, we are going to show you how to create amazing animations in your logo, and for our example, we are going to use a simple square and circle design.
Step up your Starting Image and First Motion
Create a square box in your composition and trace the frame so that you create a box within a box. You can color this any way you like but here we are going to use yellow. Create a new layer on top of the box in the shape of a circle. Once again with a circle in a circle. You should now have a square outside with a circle on the inside. Also, remember to center the layers so you are working with aligned images. Set up your Keyframes so that you have a top to bottom motion for your logo.
Step 1 for your Logo Animation In After Effects
Follow the keystrokes in the video and you will very quickly create a bounce effect for your logo. Starting from the top and bouncing off the bottom of the screen and coming to a rest in the center. Remember to use the slide at the bottom of the image to select the correct keyframes and animation speed.
You might also like: After Effects Lightning Effect
Creating the rest of your Logo with Duplication
Once you have the start of your logo animation done, you can now start creating the rest of your logo. By duplicating the layer you can create extra layers in your logo with contrasting colors that will make the various elements stand out from each other. Also, you can now slide the keyframes out of time slightly which will make the different layers bounce on the screen at different times. This will give you a bounce effect that looks like multiple balls following the square.
Creating The LOGO animation
As we are using the word LOGO for our animation, so now you are ready to make your word stretch out on the screen. By using the same technique as before, you can move your layers across the screen by selecting them individually and adding the motion according to the letter spacing.
Spelling the Word LOGO from your Squares and Circles
Using the slider and left-hand side function panel, you can now create your word LOGO from your elements individually by adding or erasing the various parts of the layers. You will also add motion to each as you prefer so that the animation flow stays constant. You should test your skills on this with more complex forms once you have mastered this technique. Remember to use the graph scope to tweak your animation to the desired effect. Add the rounded edges on the letters to make the LOGO more stylish.
This is a simple guide to get acquainted with the powerful animation and motion effects that you can add to your logos with After Effects.
