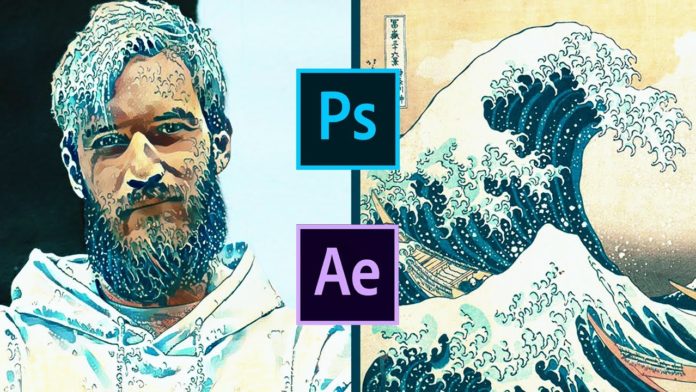
A brand new feature of the Adobe Photoshop suite is the AI-enabled Neural Filter that gives you unbelievable capability with your animations. This short tutorial will give you the best way to create some truly fantastic animations using this feature and then putting some awesome finishing touches with After Effects.
Setting up your Starting Images in Photoshop
To get to grips with the Neural Filter functionality, it’s best to start with a relatively basic image. Maybe a portrait or a very basic image or video. Keep the test composition as simple as possible, until you have mastered the features. Once you have loaded the filters on the right of your screen, make sure that you load all the feature filters so that you have them all when you need them. Click on the style transfer tab and select the smart filter at the bottom which will apply the filter to every frame of the video.
Exploring the Functionality in Neural Filters
To give you the full scope of the wide range of functionality that Neural Filters give you, here is a brief description of the functions. Firstly you can split your video into 2 by just dragging your layer above your video group 1. That will give you a duplicate to test and explore with. When applying the filters you can cycle through the available filters on the right and view the finished product on the right on your screen. You can also do things like preserving the color of your video by selecting the tab at the bottom of the filters page. Ake sure you explore the rest of the powerful functions available.
You might also like: How To Make Multiple Snapshots in After Effects
Importing the Animation Video into After Effects
After applying the filter you can now render the video so that you can import it into After Effects. Make sure you render at the highest quality possible for the best final result. Create a new composition for the rendered video and import the original video into After Effects as well. You now have both the videos in After Effects. Copy the size attribute via transformation settings from your original to the AI version so that you have both videos at the same size. You should now be able to switch between the two videos by selecting the visibility on each composition.
Customizing your Neural Effects for your Animation
Using the blending mode function you can change the effects and modes in the video editing of your video. Here you can play around with the awesome functions. Blend and transform your animations and blending to your heart’s content. Check out the turbulent display effect by selecting it on the right. You can also transform the look of your video. With the neural filters applied to your video, you can make just about any look come to life in your video. Play with the settings to get the look you desire, find your AI Neural Filter groove!
Displacer Plugin
By downloading the displacer plugin you give yourself a world of animation options. Once you have installed the plugin you can simply click and drop it on your layers to activate the functions in your effect controls. With these, you can create key frame sets that will transform your video with spectacular animations. Using the translate-X or translate-Y you can create left to right or up to down transformations. You can even rotate and scale these transformations.
As you can see neural filter animation with Photoshop and After Effects is not as intimidating as it might seem at first glance. When you know the tools and take it step-by-step you can create stunning results in no time.
