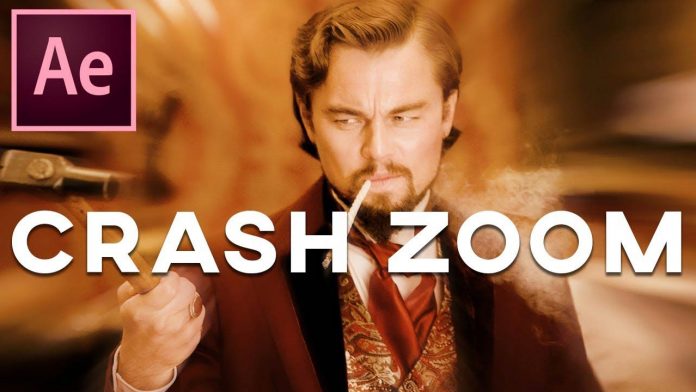
Sometimes things you see in movies are inevitably associated with the according director. Just like the Crash Zoom in almost every Quentin Tarantino film. Here is a tutorial about how you would create that iconic effect in Adobe After Effects brought to you by Max Novak.
This is actually pretty easy to do in post. Just add a camera in your After Effects timeline and turn on motion blur. Adding a camera rather than just scaling your clip will give you more control over the desired effect.
Once you got your camera movement in place, just check ‘motion blur’ on the video. Don’t forget to enable it in the composition as well. And right away you should have a decent looking crash zoom effect. For some additional control over the motion blur to make this effect pop a little more just tweak the ‘shutter angle’ value in the composition settings.
You can also use this to create something like the popular ‘zoom transition’, just by placing a cut at the right place to a closer shot. This transition has been very popular recently as it’s being referred to as a ‘Sam Kolder Style‘ edit.
You may also like: https://videomark.net/nba-youngboy-valuable-pain-after-effects-tutorial-premiere-template/
Of course, nowadays it’s easier to reinvent the wheel as these effects are being presented to a new and younger audience. I’m pretty sure we have seen Sam Kolder Style edits way before the internet even existed. Same goes for The ‘Tarantino Crash Zoom‘ as it’s no secret that he is a huge fan of martial arts movies and the style of these movies is ubiquitous throughout all his masterpieces.
But nonetheless, these are classic and very popular effects and as an aspiring filmmaker, it doesn’t hurt to know how to create them in your NLE or Motion Graphics program of choice. Head over to the tutorial below to follow each step:
