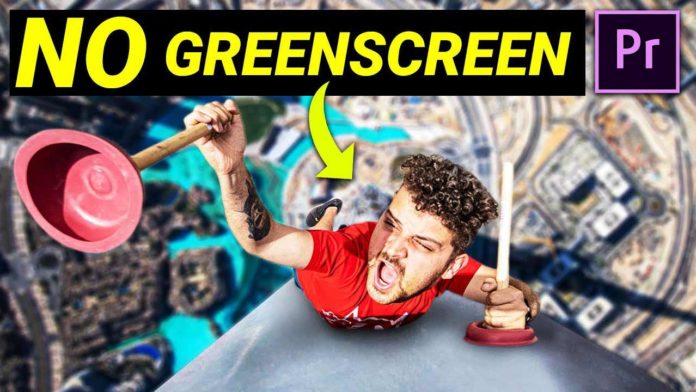
Who would have thought that you can create VFX shots in Premiere Pro without any Plug-Ins or using any other programs.
Once again Cinecom.net is proving that it is possible by utilizing some clever techniques.
Most of the video is actually more of a practical effects tutorial but to the end of the video Cinecom.net is taking us through the process of compositing the shot and coming up with a nice looking shot where the talent is climbing a wall with plungers.
For this effect to work you first have find the right angle to match the perspective of the final shot.
As simple as this technique is it does have some limitations as mentioned in the video. For instance you will have to find a pretty light and clean wall to match the talent shot on. This way blending everything togehter will be much easier.
Most of the tutorial is actually preparing everything to get the perspective right. Once that shot is done Cinecom.net is heading back to Premiere Pro to create the actual composite.
Blend Mode Is Your Friend – Darker Color
To blend everything together place the shot above the background shot and draw a mask around the talent with the pen tool.
Now just set the blend mode to ‘darker color’ and the background of the upper shot will disappear. As mentioned this will only work if you have a clean light color wall and shoot the climber on a similar background like white fabric.
Once everything blends together the shot will look like it has been shot with much more prouction value like tracking or greenscreen. To add some more depth you could now add a slight camera shake in post production to give it the look of a handheld shot, which will even more look like it has been tracked.
As you can see it’s pretty simple to create that right within Premiere Pro without even leaving the program just by the right idea, concept and execution.
