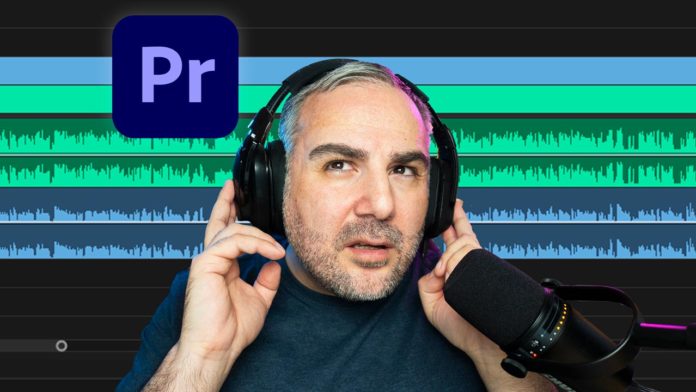
How To Sync Audio in Premiere Pro
- drop both clips on your timeline on top of each other.
- Select both clips and right-click
- Select ‘Synchronize’
- Default setting (‘Audio Track Channel 1’ should be fine in most cases)
- Hit ok and let it process. The clips will snap in place.
- Mute either track or delete the other clip to just hear the desired audio.
To Sync Audio in Premiere Pro, you just need to drop the desired clips on the timeline. You don’t have to trim them exactly to the part that you want to synchronize. Premiere Pro will detect the right part. Put them on different tracks, select both clips, and right-click.
Now select ‘Synchronize’ from the context menu. Keep in mind that this option is grayed out if you have only one clip selected. Here you have a couple of options to control the sync process. The default settings should work just fine in most cases. I barely ever change anything here. The reference track is usually set to 1 (‘Audio: Track Channel 1’).
Here you can also set the ‘Clip Start Point’ or ‘Clip End Point’ as the base. Or just match the ‘Timecode’ of 2 clips. When you hit ok now, Premiere Pro will scan both clips, and if they match move them around so sit on top of each other perfectly.
Of course, now you will hear both clips. You might either want to mute either track. Or just delete one audio clip to be left with the one that you want to use.
You might also like: How To Freeze Frame In Premiere Pro
Ok, but how to do it manually when synchronize doesn’t work?
There’s still no guarantee for this function to work properly. Or maybe the clip is just too short. Then you’d have to do it manually. Assuming that both clips are the same the waveform should look very similar. You might want to adjust the gain of either clip to a) hear what’s going on and b) see the waveform to be able to move it around.
Now just roughly move it in place so the waveforms match. At this point, you are eyeballing it. From here you might have to work nudge the clips around frame by frame. For that, you can use the shortcut ‘Alt/Option + Arrow Keys’. This will move the clip around frame by frame and you can match the frames exactly.
This is actually where that clapping comes in handy that you might have seen in many other videos. That basically works like a clapper board in film production, which gives you a visual and audible cue that you can match in post-production (which is what we are doing right now).
Ok, but what if it still doesn’t match perfectly?
In some cases, you might even need to work more accurately to perfectly sync 2 clips together. For that, you might want to switch to ‘Show Audio Time Units’. Now you can zoom in even closer in the timeline. Keep in mind though that you cannot move video around on a sub-frame basis! If you have regular clips (Audio AND Video) selected it will still jump on a frame basis. You’d have to unlink to select audio only to move that around. Plus, from here you are limited to using the mouse, the shortcut mentioned above won’t work anymore.
More than 2 clips? – Say hello to Redgiant Pluraleyes!
Now let’s say you are producing something more complex than just a run&gun video, maybe a short film or a commercial, and you happen to have a multicam project where you need to synchronize 4, 5, or more cameras your best bet is the plug-in ‘Pluraleyes‘ from Redgiant. I have used this on multiple projects in the past and it does a great job when it comes to matching multiple clips together.
So it’s pretty easy to synchronize audio in Premiere Pro. Just put both clips into the timeline, right-click and select ‘Syncronize‘. Leave the default settings and hit ok. If you have more than 2 clips or a multicam project consider using the plug-in ‘Pluraleyes‘.
