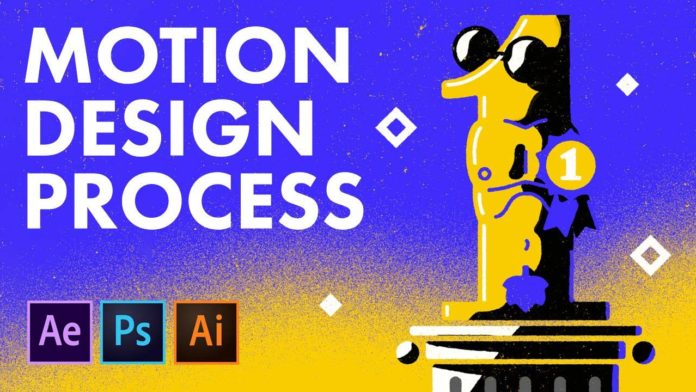
Motion Design with After Effects is actually very easy. Even if you have not used the Adobe After Effects application before, as a novice you will find the menu structure and intuitive layout easy to master. Creating your images or characters in Illustrator gives you a larger scope of possible animation and effects. So it is strongly suggested that you use these two applications in unison.
Creating a Simple Numeric Animation
The abilities of After Effects is best illustrated by taking a simple animation task and going through it step by step. In the tutorial YouTube video, you will see the creation of a very basic numeric animation sequence. However, you will very quickly realize the vast capabilities that you have when it comes to motion design and animation.
Step 1 – Creating your assets with Illustrator
The first step of any motion creation or animation is always your fixed assets. These are your frames that you are going to use to create your motion design within After Effects. You should always create these with a little free play in them so that you can use ore creativity when you start the animation. As you can see the #1 is being used in the YouTube video. So follow the creation process in the video whilst you read the explanation here.
You might also like: Top 10 After Effects Expressions
Step 2 – Color Selection and Shadow Creation
Depending on your motion design you might want to create a gray-scale image to add the color later as in the video. However, if you are clear about what colors you want then you can add them to the frame images already. As you can see the final motion design requires a camera effect so we have created various “flash” images. These are created by adding shadows and layers in the frames.
Step 3 – Finalization of Images in Photoshop
Depending on your preference you can also do final touches on your images in Photoshop. You might use another image design application but as we mentioned earlier, sticking to the Adobe Suite if that is what you are using makes transferring files a lot easier. Using a single suite of software also gives you the ability to make small changes to your frame images and colors etc. with ease without derailing your project.
Step 4 – Creating the Animation in After Effects
With all colors and frames created, it’s time to get down to creating the animation in After Effects. Starting with the “flash” images you will see the creator adding the frame rate and looping for the camera flashes with the easy to use menu functionality of After Effects.
Using the wide scope of features in After Effects, it’s easy to change aspects like opacity and frame rate in your motion design. You can also see just how simple it is to edit and copy attributes across to the rest of your frames in After Effects.
With your foreground images done, you can now get down to creating the motion in your background. By creating a looping camera roll, the effect of a wall of cameras is easily created and it even has flashes going off randomly.
All Set
A simple 5 step process to create basic animations in After Effects!! It is really that simple and when you start doing more complex animation and motion designs you will see that these 5 basic steps stay the same. All you have to do is let your creativity flow!
