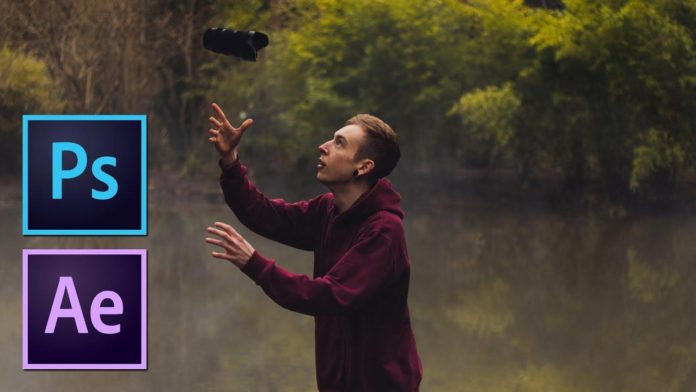
With a 2.5D parallax animation, you can add motion to regular 2D images and breathe some life into rather boring shots. It’s a good way to not only repurpose your content but create actual videos or GIFs and stand out on social media. Here are 2 cool techniques not only with After Effects (which you’d probably expect) but also creating a parallax animation right within Photoshop.
Parallax Animation – Only With Photoshop
To create a parallax 2.5D animation in Photoshop let’s start off by isolating the elements we want to animate. There are 2 ways to do that, either by creating a layer mask with the brush tool. Or by creating a path with the pen tool which then will work as a mask to isolate the desired area. Once the path is created just right-click on the background and select make a selection.
You might also like: Creating Cinematic LUTs for Premiere Pro with Photoshop
Now you can use that selection to copy that area on a new layer just by copy-paste. For the effect to work and have a so-called clean plate you’re gonna have to fill the area with content-aware fill.
Animate In Photoshop – With The Timeline
Now that you have isolated the desired parts of your image, go to window and open the Photoshop timeline. When you open the timeline and click create video timeline you will see a timeline similar to After Effects with the layers stacked on top of each other.
Once you twirl open the parameters of the background layer, you will see that you can now set keyframes for a couple of parameters like Transform, Opacity, and Style. Hit the stopwatch to begin recording keyframes for scaling the background. This will automatically set a keyframe for this parameter (indicated by a small diamond icon) and each time you are changing that value. Now go to the end of the timeline and scale the background a little bit so it gets bigger so you have some subtle movement.
Do the same for your main elements and just ad some subtle movement and that’s it. Now you are ready to export the video. Click the icon in the top right corner of the timeline and select render video in the context menu. That will open the export dialog.
Select a name, destination, file format, resolution, and framerate and that’s it. You just created a 2.5D parallax animation right within Photoshop.
A Perfect Case For Adobe After Effects
For a 2.5D parallax animation the first tool that comes to mind is probably After Effects. However, you’d probably still want to start with Photoshop to isolate the elements you want to animate if you don’t want to rotoscope it in After Effects. Just import the Photoshop file and set the import kind to composition – retain layer size.
Now within that composition click the box icon on all layers which will turn them into 3D layers. Just like in Photoshop you can activate the stopwatch to start recording keyframes on the parameters. But you could also just reposition the elements and create a new camera and just animate the camera.
Since After Effects, in contrast to Photoshop, is a dedicated motion graphics software you can do much more to make this animation more interesting. Add stock footage (smoke – like in the tutorial below) or particle effects.
As shown in the tutorial below you could even animate certain parts of the talent with the puppet tool to make it even more interesting.
When you want to export the video keep in mind that unlike the tutorial, you want to send it to the Adobe Media Encoder to be able to export an .MP4 file. The option to export Quicktime .mov with the h.264 codec right from After Effects has been deprecated.


![Mouse Pointer 3D in After Effects [FREE TEMPLATE] Mouse Pointer 3D In After Effects](https://videomark.net/wp-content/uploads/2022/02/MousePointer3DInAfterEffects_web-218x150.jpg)


