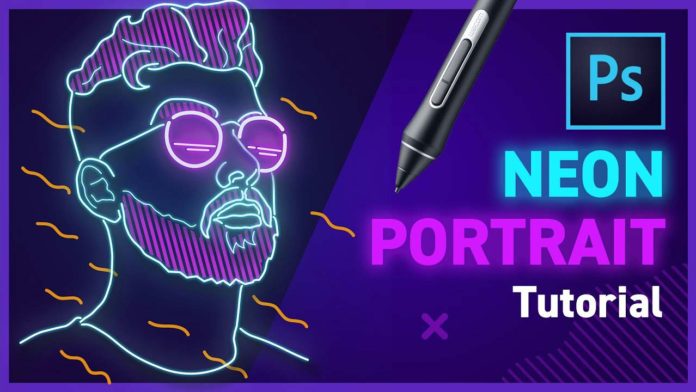
Making portraits look even better can be done by using your pen tool and neon lines. This Neon Portrait Illustration in Photoshop tutorial will show you how to give your portraits that super cool 80’s looking! For this effect in Photoshop, you need a great photo of a person or place that you can use as your reference. We are going to use a face portrait as it gives us all the aspects that we want to show you when making a Neon Portrait.
Tracing with your Pen Tool
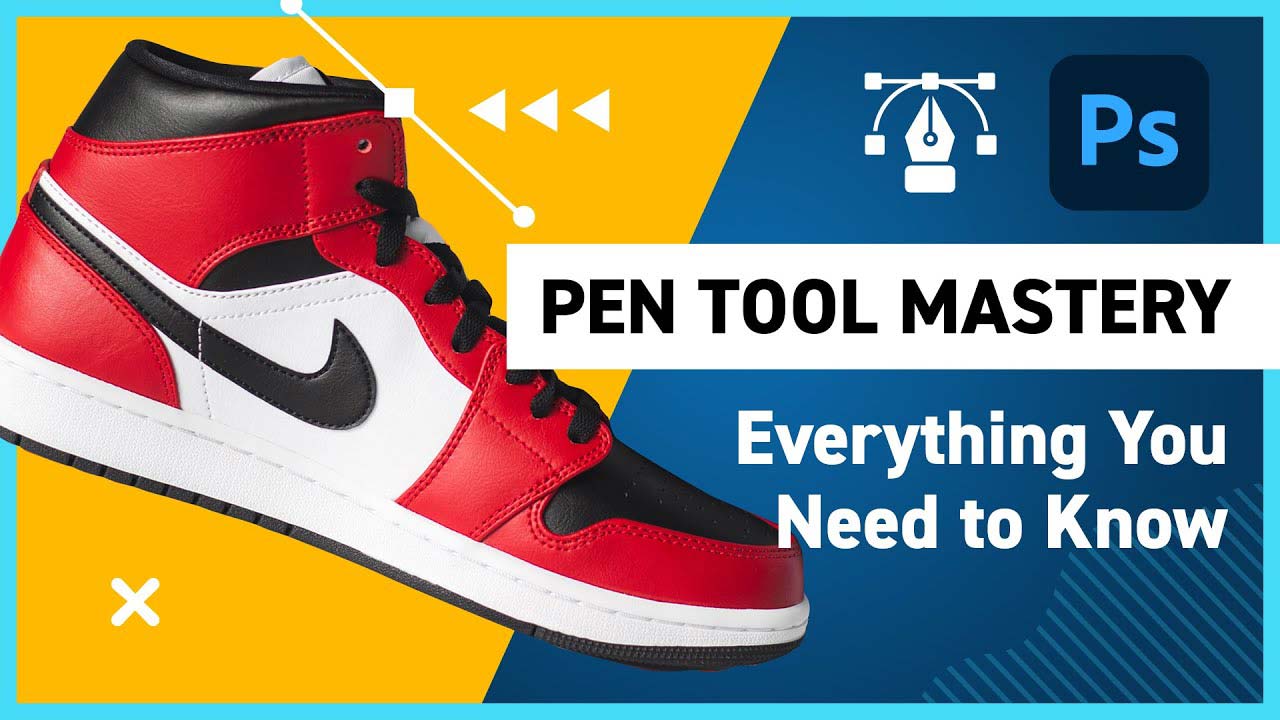
With your picture loaded you can start tracing the outlines with your pen tool. Remember to set the pen tool to shape mode, the FILL COLOR to none, the STROKE to white so that you can see the lines on the image. The thickness of your lines you can decide on based on the image that you are using. Also, you should use a center alignment for your pen and your caps and corners should be set to round. Using your key commands you now trace the lines on your portrait. Be sure to get the lines just the way you want them by using the key commands and space bar.
The pen tool will automatically create new shape layers for your lines. The core setting for your lines and anchors can be adjusted in the top menu. Just in case if you are struggling to see the lines in the background of your image.
If you really want to master the Pen Tool in Photoshop, here is another post with an in-depth tutorial: How To Use Pen Tool In Photohsop
Organizing Your Layers
Once you have finished tracing all the lines that you want, you want to hide the image so that only your line layers are visible. You start by grouping all your shape layer. In the example layer, we are grouping all the layers for the face n a group with the sunglasses in a separate group.
Adding the Neon Effect
You add the Neon effect by clicking on the layer style and selecting the Outer Glow option. You can choose the color as you please with the color palette. Play around with the opacity and other settings to get the effect that you want. To get the best NEON effect you use 2 drop shadows. One soft and another, sharper and crisper to give you the best look for your Neon Portrait. You can play around with the settings of your shadows or you could just use the settings as in the example. You might also want to use a Gaussian filter to give your Neon glow a better look in the final image.
Additional Lights and Effects
To additional glow to your Neon Portrait, you use an extra shape layer. The mask layer you will fill with the same color as your main neon effect to create a background glow. This is done by adjusting the feather setting to blur the shape out so that you have an afterglow for your portrait. Using the brush and variable brush sizes and brush hardness.
Vignette
Neon Effects normally look great on darker backgrounds, and so we suggest that you use the Vignette layer setting to bring out your colors even better. By setting your brush even bigger and using the same color as your background you can set your shading just right. Trace the outside of your composition so that you don’t affect the center of the image.
Hair Details
The Neon Portrait is almost done, we just have to add a few details to the hair. You can add some patterning to the hair to give it more detail. We use a new shape line tool for this. By creating straight lines on the side of your image you then duplicate these lines until you have lines covering the whole image. Make sure that your lines are distributed evenly across your image with the setting in the top menu bar.
Adjust the angle of the grouped lines so that they fill up the hair (head and facial) at the right angle. By masking the layer and then using your brush tool you can reveal the lines with your brush. Using the stroke selecting and layer control you can place the line layer below all the other layers. Now change the color so that it gives you a great effect on the hair on your portrait.
Once you have fine-tuned the settings to your liking this Neon Portrain Illustration in Photoshop tutorial will help you create a great looking portrait to use.
