
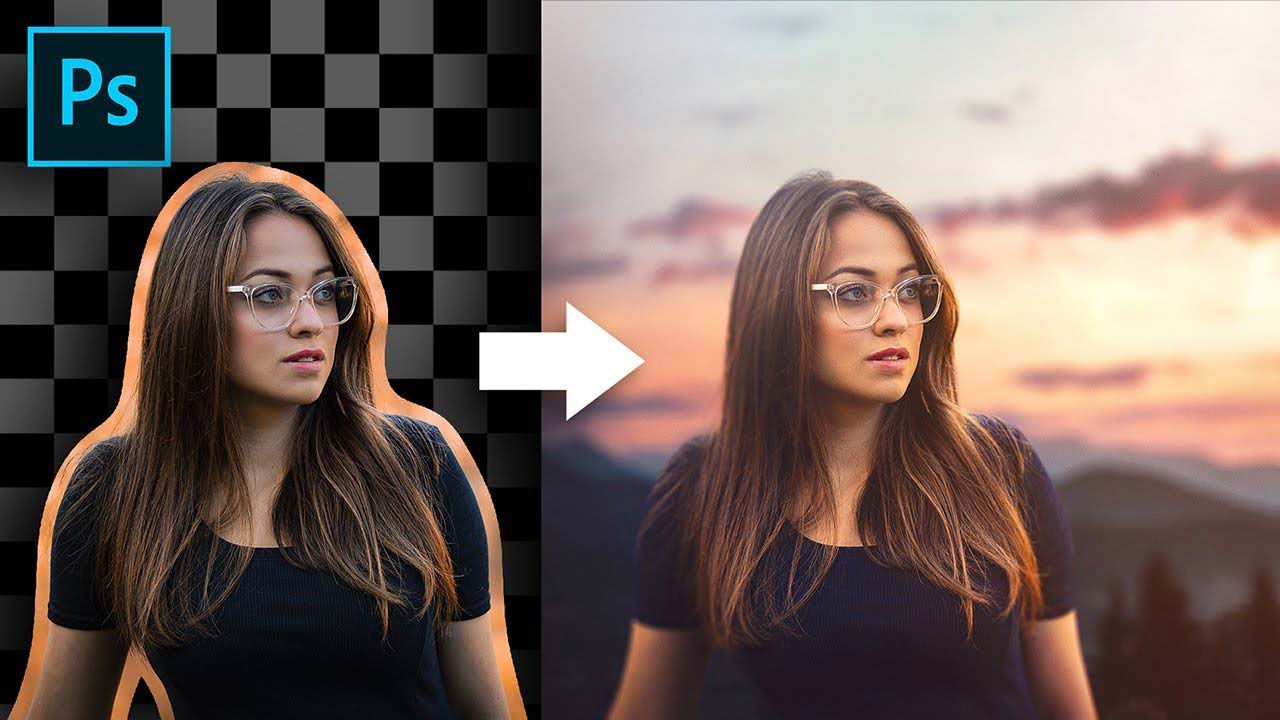
If you want to create fantastic stylish highlights for your images in Photoshop this the tutorial for you! Here we will show you how to create the amazing highlights you have always wanted for your creations.
Start with your Image
Start by opening up your image and selecting your adjustment layer. Be mindful to select the right filter like ‘Hue/Saturation‘ if you want to make your highlights correspond to the light source that you are using. For our source, it is an explosion so we will use the ‘Hue/Saturation‘ to get the right highlight effect. By using the ‘ALT key‘ you can select the object that you wish to apply the effects to. With this effect, you want to select the COLORIZE tab so that you can color your highlight for the desired effect.
Applying the Highlight to your Image
By inverting the layer mask (ALT or OPTION + I) you can now start applying the highlight to your image. Of course, you have already fine-tuned the color of your highlight so now you need to apply it to the relative areas of your image. Using a simple brush with a white/black brush color switch you now apply the highlight to your image. Remember that your light source is directional, so you can only apply the highlight on the side of the light source in this case from the right. For this you only need to use your mouse you do not need pen tablets, this technique is very easy and simple.
By the way, if this technique is new to you and/or you are a Photoshop beginner, here is a color matching technique which is extremely helpful: How To Match Colors In Photoshop With 3 Clicks
Tracing the edges of your Image Frame
Using your mouse and brush, you can now trace the frame of your image and create the highlights on the affected areas of your layer. Remember not to create highlights where the light source does not reach. It is always easier to create larger highlights and then to brush them away with your mouse using the ‘X’ switching function for your brush color.
Switching between Hard and Soft Brush Strokes for the Best Effect
As you can see in the video, you can use hard and soft brush strokes to create the edge effects that your light source gives. This process takes time so don’t rush and make sure that you get all the edges and don’t blur the highlight on sections that should not get highlighted. If your light source is from the back as is here you know you should only affect the exposed areas of the images layer.
Fine-Tuning Color or Lightness
Now that you have completed the highlight effect, you might see that the color or lightness is not quite perfect. By using the color settings of your highlight adjustment layer and change the values to make your effects jump off the screen. You can also use the blended feature of your highlight layer to create a more realistic look. By blending your highlight to the image (double click on highlight layer) you can create a framework for where your highlights should not be. Practice these simple steps and you will be highlighting with the best in no time!!