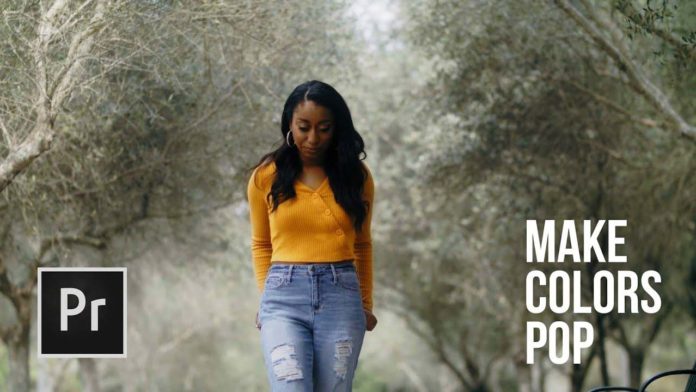
Here is a nice quick tip form SonduckFilm to make the colors pop and help your talent to stand out with a simple secondary color grading technique.
Start off by applying the Lumetri Color Effect (which by the way is done automatically when you just open the Lumetri Color Panel and start tweaking values). After this first initial color correction start isolating the elements that you want to emphasize in your clip. Usually, that would be a central element (like people in the scene) where you’d want to draw the viewers attention to.
Now with the basic color correction done head over to the most important step: selecting specific elements with the HSL Secondary color correction. With the eyedropper tool, you can select color values in your scene. The eyedropper with the plus sign will add more color values until you selected everything you’d want to manipulate.
You might also like: https://videomark.net/text-behind-moving-objects-in-premiere-pro/
With the 3 sliders below (H)ue, (S)saturation and (L)ightness you can fine tune the selection. With the blur slider you can tweak the selection a little more so it looks a little more natural and won’t give you a hard edge.
In the tutorial video below SonduckFilm is applying another Lumetri Effect to the clip and with the same process selecting the pants to give it a little more saturation.
With this quick and simple secondary color grading technique it is very easy to isolate specific elements in your scene and individually color grade them.
