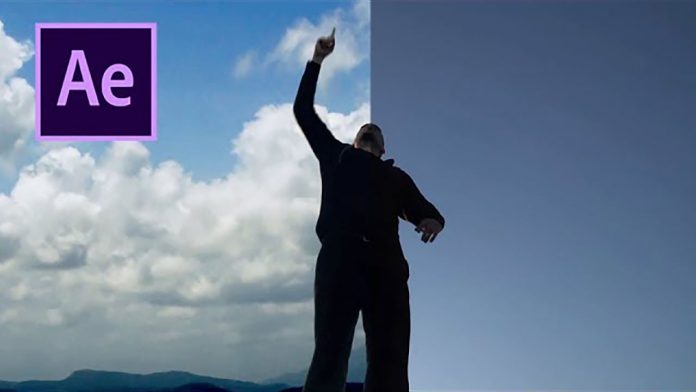
Sky Replacement with After Effects is something you’ll probably encounter a lot when doing post-production and motion-graphics. As always there are multiple ways to achieve the desired result, but here is a neat technique from C.M. de la Vega to replace the sky easily when your source footage does have a contrast.
So start off by applying the Colorama Effect to your layer and apply the Ramp Grey preset to the Output Cycle. When you apply black & white nodes to the color wheel you will get a good high contrast representation of your sour footage. Again this will work best when you already have a pretty contrasty shot. Probably not going to work as well with flat color footage with even lighting.
So after applying the color effect you will still have to create a garbage matte to clean up the matte and as seen in the video he is doing that by simply creating a mask around the talent and inverting it. Depending on the motion in the footage you might have to animate this mask to not accidentally mask out areas that you want to keep in your matte.
As a final step for the matte, you still might have to do manual rotoscoping to keep areas in your matte, that the color effect has clipped out, for instance, the highlights on the face of the talent, that still have been light by the light source behind him.
You might also like: https://videomark.net/infinte-mask-loop-effect-in-adobe-after-effects/
Once you have your clean matte created here is how you knock out the background. Place your source footage below the matte, and set the Track Matte of the matte to ‘Luma Inverted’. This will use the white areas of the matte to ‘remove’ the according areas of your source layer below. This is something you will use a lot in After Effects.
Now you can go ahead and place the sky footage below your source layer. And there you go. You’ve got your cloudy background successfully added to your footage.
