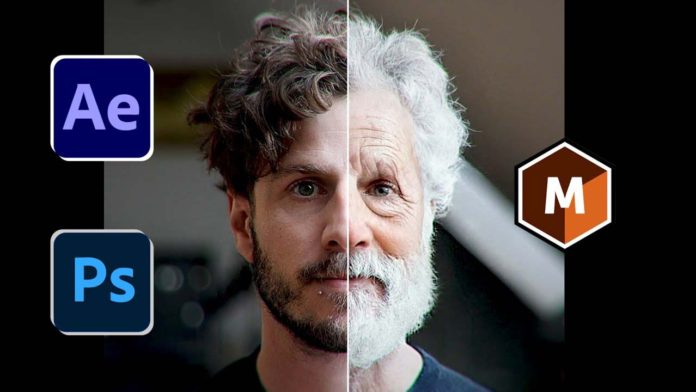
Today we are going to learn how to add an age effect to your videos with After Effects and Mocha Pro. This awesome technique is being used more and more nowadays, and it is actually pretty easy. So let’s get straight into it and start with our composition loaded in After Effects.
Mesh Tracking and Set-Up
Mesh Tracking is a new feature in Mocha Pro 21 and you can get it online. You start by setting a maker in your video (in After Effects) where you want your aging to start. Once you have set the beginning and end of your track marker you then hide the rest of your video so that you only work with the marked part of your composition. Follow the setting in the tutorial to set your composition up so that you have all the attributes and layers ready for your effects.
Now you open Mocha Pro and you can see that the functionality and layout are very similar to the old version.
You might also like: Track Matte in After Effects
Mocha Pro Editing
The first thing you do a set a spline to select the face that you are working with. In translations you can define what you are tracking, it is here that you will find the new MESH option. Using the adjustments for the Mesh layer you can now set the mesh to uniform mesh, you could also use the contrast setting and smoothness setting to add more definition to your mesh. Always remember to click on ‘generate mesh’ in the settings so that your settings get updated to the composition.
When you click on track mode you will now see that your mesh will track the movement in your video in real-time. With the tracking finished you can see that your mesh and spline have tracked your selection through every frame. Notice how powerful the functionality is in the new version of Mocha Pro.
Using After Effects to Age your Video
So now that you have your meshed composition in After Effects, you mask out the face and set the color to red. You then copy and paste the Mocha tracking data onto your composition so you have all your data ready for the aging process. Remember to render the tracking data so that it will follow your motion in the video. By rendering the warped image you will see the result of you tracking Mesh from Mocha Pro. You now have created a 3D mask for your face that will follow the contours and perspective of your video.
Aging your Face
By saving the first frame as your reference frame you are going to use. With the JPEG saved you can use the new features in Photoshop to age your face. By using the SMART FILTER (in Neural Filters) option you activate a host of settings to use on your face to apply the aging. The most important of these for our purposes is the FACIAL AGE slide setting that we are going to use. Play around with the slide settings to get comfortable with using them so that you can see the effects you can create for your composition.
As you can see just by adjusting the facial age and hair thickness you already can add an amazing age effect to your image. Remember to save your adjusted image as a JPEG. The process you need to follow is to import your aged image as a mask so that you can trace the outline of your mask to mask your original face.
Use the feathering and subtract functions to remove the eyes and mouth from your aged face.
Rendering your Aged Face
Once you render the mask in your composition you will see that now you have an aged face on top of your original face but you still have to do some fine-tuning. The hair and neck must now be blended so you have continuity on your video. You do this by feathering the edges to blend with your “real” skin. By tracing the mask, you can now add feather points to blend the skin where needed around the face. Render the result to see your work in action.
The Hair
To color the hair all you need to do is create a reference frame and then using the ROTO brush (also a new feature in After Effects) you can now select the complex contours of the hair profile in the frame. For the finer details of the hair, you use the refined edge tool to select the fine hair of the image. Using your icon below your frame, you can see the results of your selection. Freeze your result to save your selection.
Now you can shade or tint your hair to match the color you want, and you can create the “old hair” that you want with the adjustment layer.
You now have the old face with aged hair to mask over your original video.
Finer Touches
When you watch your video now you will see that there are still some aspects that have not blended quite right. Using adjustment layers and masks to add the finer touches to your composition.
There you have it. It’s easier than you think to create an age effect with After Effects and Mocha Pro!
