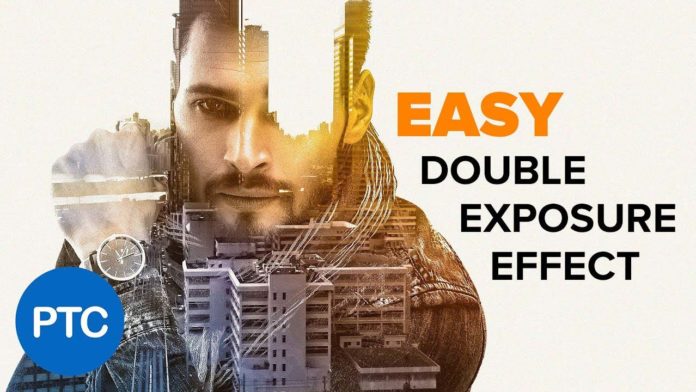
In this video, we are going to show you how to create a double exposure effect in Photoshop using adjustment layers and blending modes. These techniques are non-destructive so you can always come back and make edits to your original image at a later stage if you want. We will also be paying attention to our workflow so that you can easily apply this effect to any image you are working with without wasting time.
Start Here
We are going to use a simple image with a white background. This technique works better if you have a white background. But we will be showing you how to apply this technique to other backgrounds as well today. Firstly, we must import our background image from our library.
Then we must size the images so that they fit on each other. Use the Alt or Opt keys on your keyboard to do this. Remember to always name your images so that you can easily work with them.
Blending Modes
By selecting the top image and blending it with our main image you can see that we already have a pretty cool double exposure effect. But as you can see, we don’t have a lot of control, that is what we are going to use the adjustment layers for.
Non-White Backgrounds
If you don’t have a white background you need to do the following. You first create a solid color layer and then using the selection tool you select your person on the main image so that you can create a layer mask. This will give you a white background for your exposure technique.
Editing Your Double Exposure
To fine-tune your technique, you need to create a new group and then move it to the bottom of your project panel. You need to create two adjustment layers, a Black and White layer, and an Exposure layer. If you want you can delete the mask layers as you will not be needing them.
You then need to duplicate the group with the layers so that you have 2 sets of adjustment layers. Name your groups accordingly – Top Image and Bottom Image.
Top Image Group
To create our effect, we select the top image group and use the Lighten blending mode. We then have the same effect as before and we can click and drag the city image around to lace it in the correct position. This is where your adjustment slayers start working for you. Photoshop will use the lightest pixel because of the lighten blending mode so that we can create a black and white double exposure effect.
You can see this working when we lower the exposure to -20, now you can’t see the city image as all the pixels in the top image is brighter than the ones below. The opposite is true when we expose the bottom image again.
As you can see in the video you can now selectively target colors to adjust their luminance to bring out certain aspects of your top or bottom image to create your double exposure effect. This gives you full control of how your colors blend in the double exposure effect.
Different Adjustment layers
You can use any adjustment layer you like, like curves or levels adjustment layer. You do not have to use the black and white, exposure layers like we do in the video. This is just to show you how easy this effect is to use and how you can manipulate the blending with the different adjustment layers.
Fine Tuning Your Image
Once you have the main blending of your image all setup, you can use further techniques to enhance the image. You can use a gradient map to fine-tune your image. Select any of the effects in the map to create your image.
You can also disable the black and white layers in your group to get even more detail in your final image. And if you change the blending mode you will get a different effect in your final image. You can create many different subtle effects by playing around with the various modes and options in Photoshop to create the effect you want.
Final Tip
If you select the gradient map and hold shift, you can then select the bottom image group. You have now selected the whole project in the Project panel. Right-click on the side of the layer and convert the layers to a smart object. Now the whole project is a smart object.
If you view the Camera Raw output you will see that canvas is bigger than the composite canvas. To prevent this, we must undo our previous actions and then start working with the layers again.
You might have noticed that our bottom image is larger than the top image layers. So, we must select the canvas by using Ctrl-A (Cmnd A on Mac) and then click on the new layer mask icon. You then select the top image layer and the city layer within it. then create a layer mask again. Once you have selected the layers just like we did in the video, you can create a smart object again.
You will now only see the canvas you are working with when you view the Raw Camera filter. You can then stylize your image as you see fit. You can change opacity and blending as you please and make your image look fantastic. This way you can fine-tune your Double Exposure image perfectly.
Use this technique to create awesome-looking images for your projects.
