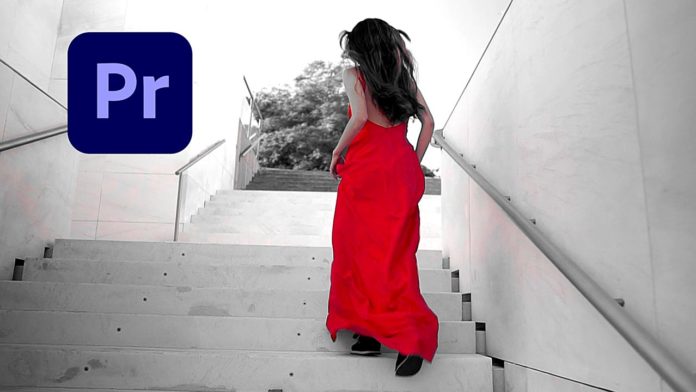
Here’s a quick and very handy trick to achieve the selective color effect in Premiere Pro. For selective color, you can of course use the usual techniques with secondary masks and all. But the purpose of this technique is to achieve this look very quickly with just a few clicks.
Lumetri Panel – everything in one place
For this, we are going to use the ‘Lumetri Color‘ panel. Within this panel head over to the ‘Curves‘ tab. And here you will see a whole bunch of sub-tabs. We are going to use the ‘Hue Saturation Curves‘ tab. And within this tab the topmost panel ‘Hue vs. Sat‘.
With the eyedropper on the right-hand side, you can actually automatically select a color range on the canvas, and Premiere Pro will automatically set selection points on the color graph. In the tutorial above, we want to keep the color of the red dress and desaturate everything else. That way we will get the selective color effect.
First, let’s desaturate
Before we do that, however, we want to desaturate the whole clip. So before using the eyedropper to select the color range just drag the graph all the way to the bottom. You will see everything desaturate on the canvas. Remember to click & drag the line (without creating any points). That will move the whole line and thus desaturate everything.
It’s magic – eyedropper can select colors in gray clips
Here’s the trick: when you now use the eyedropper and click on the dress, Premiere Pro will still understand which color it has although visually it looks mid-grey. And create a color range selection on our color graph.
Now with this selection created, click on the middle point and drag it all the way back up again. About the height where the line was before. That’s important because when you move further you will actually add more saturation.
And that’s basically it. With these 2 simple steps, you just created that selective color effect without even using an effect or messing around with secondary masks, etc.
Want to add multiple color ranges? No problem!
You can even go a little further and select multiple color ranges. As seen in the tutorial above I am selecting the leaves on the tree and Premiere Pro will add that selection to the current red selection of the talent’s dress.
Selective Color Effect Checklist
How to create the selective color effect in Premiere Pro:
- 1. In the ‘Lumetrie Color‘ panel open the ‘Curves‘ tab
- 2. Open the ‘Hue Saturation Curves‘ sub panel
- 3. In the ‘Hue vs. Sat‘ panel drag the line all the way to the bottom to desaturate
- 4. With the eyedropper click on the color you want to bring back
- 5. From the 3 dots in the color range drag the middle one back up again
Premiere Pro will understand that there is a color to be ‘sampled’ although you just had desaturated it by dragging the line all the way to the bottom. Very quick and easy way to create the selective color effect in Adobe Premiere Pro
